Rear view
Recognize her silhouette.

Long hair and floral ornaments connect the silhouette.
Turn a script or text prompt into a sequence of storyboard frames. In koma, break the story into shots, agree on how to film them, then generate video and compare takes. Start with a full script or a single scene in your head.

Have a script but aren't sure how to film it? Let AI break a scene into shots in koma. Then use the frames to check whether viewers can follow the story.
“She takes two keycards from the guard
and heads for the next door.”
A shot breakdown of the keycard scene in Heist. Establish what she wants, show her taking it, then confirm she has it. Each shot moves the story forward.
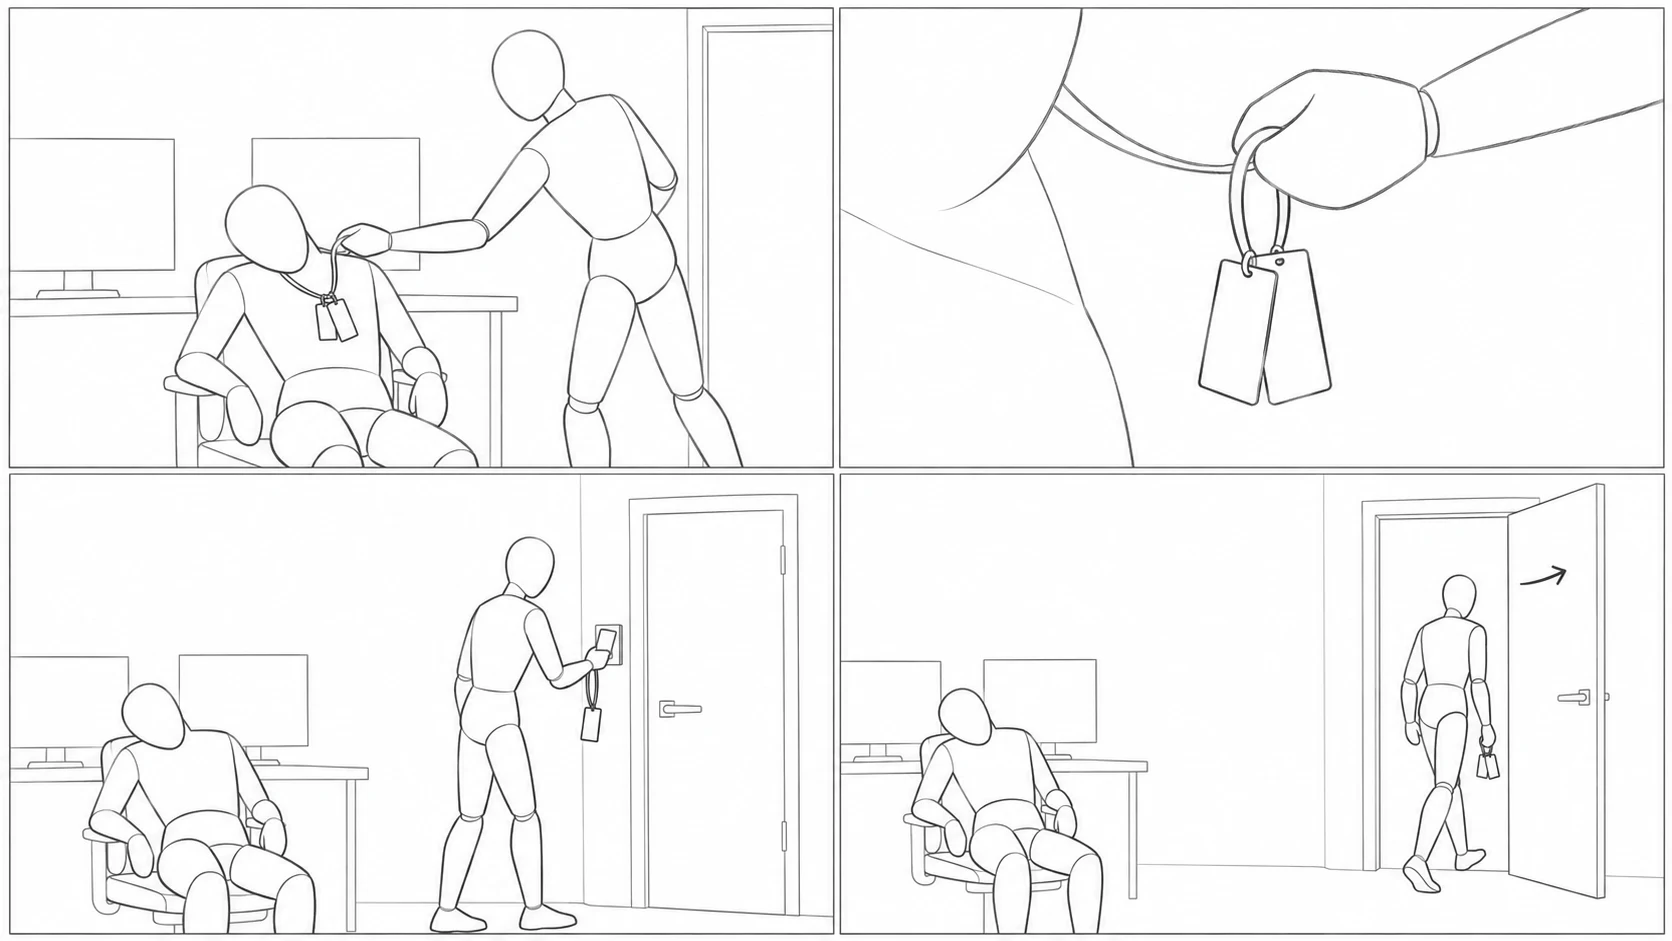
A medium shot locates the guard and keycards, so viewers know what she wants.
Give the hand and cards a close-up, making the act of taking them clear.
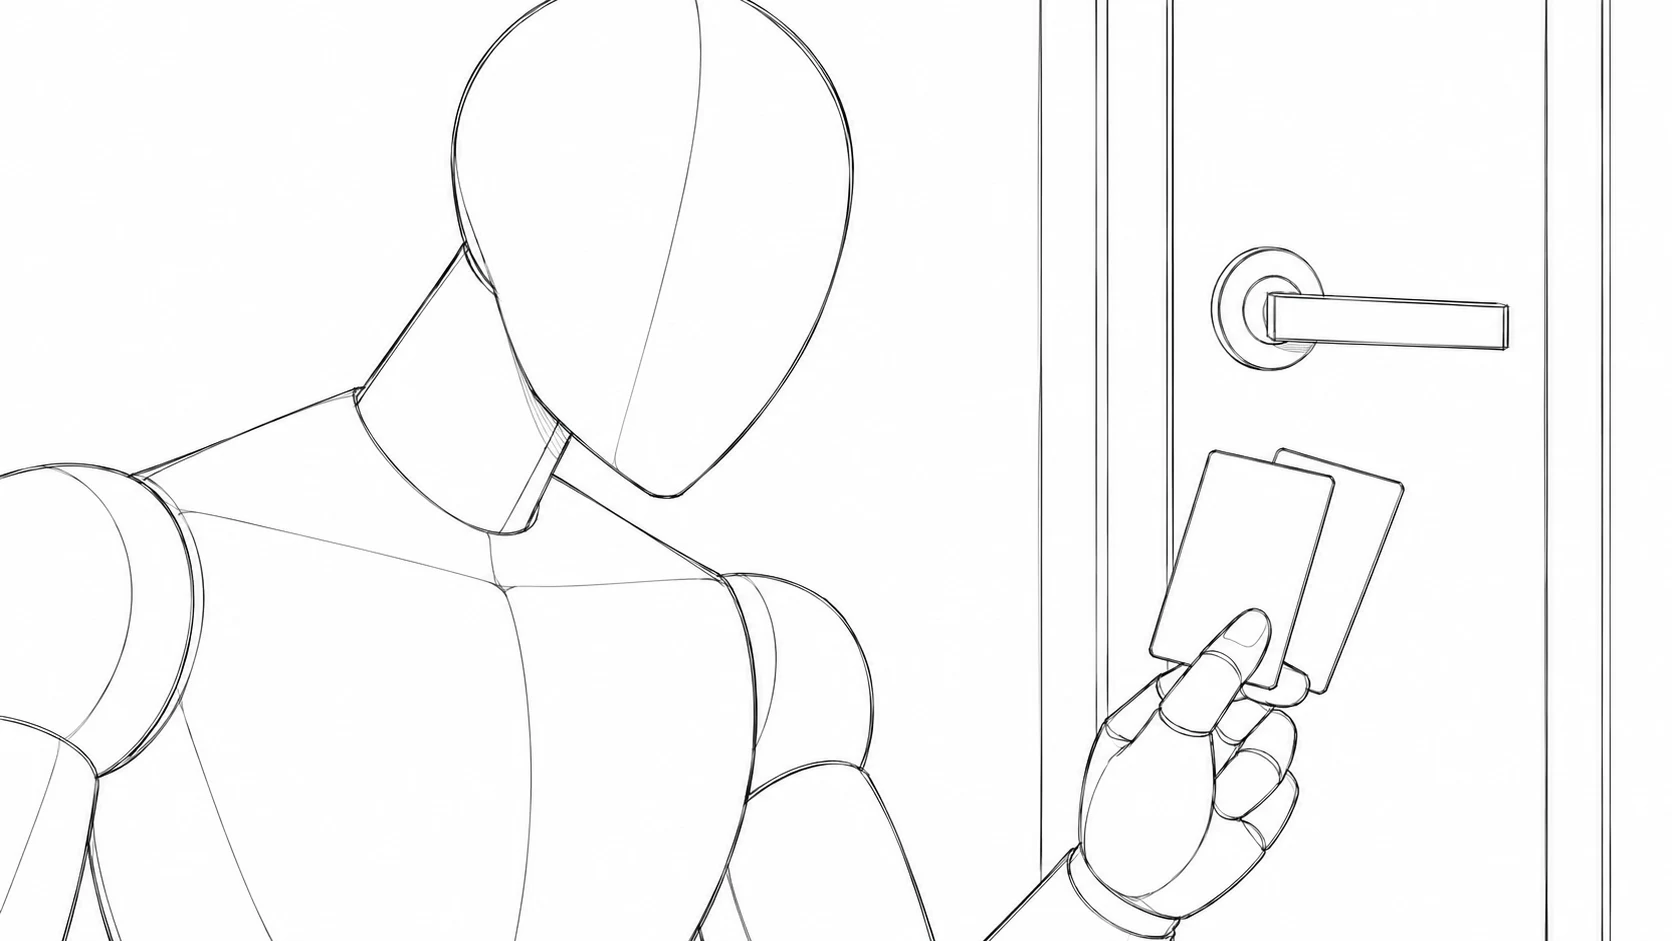
A medium close-up shows her checking the cards, setting up her move toward the next door.
Describe what the character does and what viewers need to understand. Then add your preferred camera position. You don't need to master camera terminology to explain an idea.
A storyboard only needs to communicate the shot. These rough mannequin sketches establish actions and relationships. Separate references describe character appearance and scene details.
A guard slumps in a chair, two keycards hanging from his chest. An intruder takes the cards, checks them, and heads for the next door.
First show the person and the cards, cut to a close-up of a hand lifting the lanyard, then return to a medium close-up of her checking the cards. Use rough linework so viewers understand what she took and where she is going.
Change the camera angle while keeping characters, places, and actions connected. In koma, plan the shots first, then add character and scene references to give each generation a shared basis.
Before generating, agree on the frame.
After generating,
know what to compare.
Set the camera position and pose in the storyboard, then compare them with the corresponding moment in the film. From rear to side to front, Meihua's face, long hair, floral ornaments, and pale robe should carry through.
In koma, the storyboard defines the shot, while shared character references describe appearance. Compare composition, pose, and identifying features after generation to find deviations.
One camera move. Three comparisons.
Sketch the shot · Check the characterRecognize her silhouette.
Long hair and floral ornaments connect the silhouette.
The camera moves around.
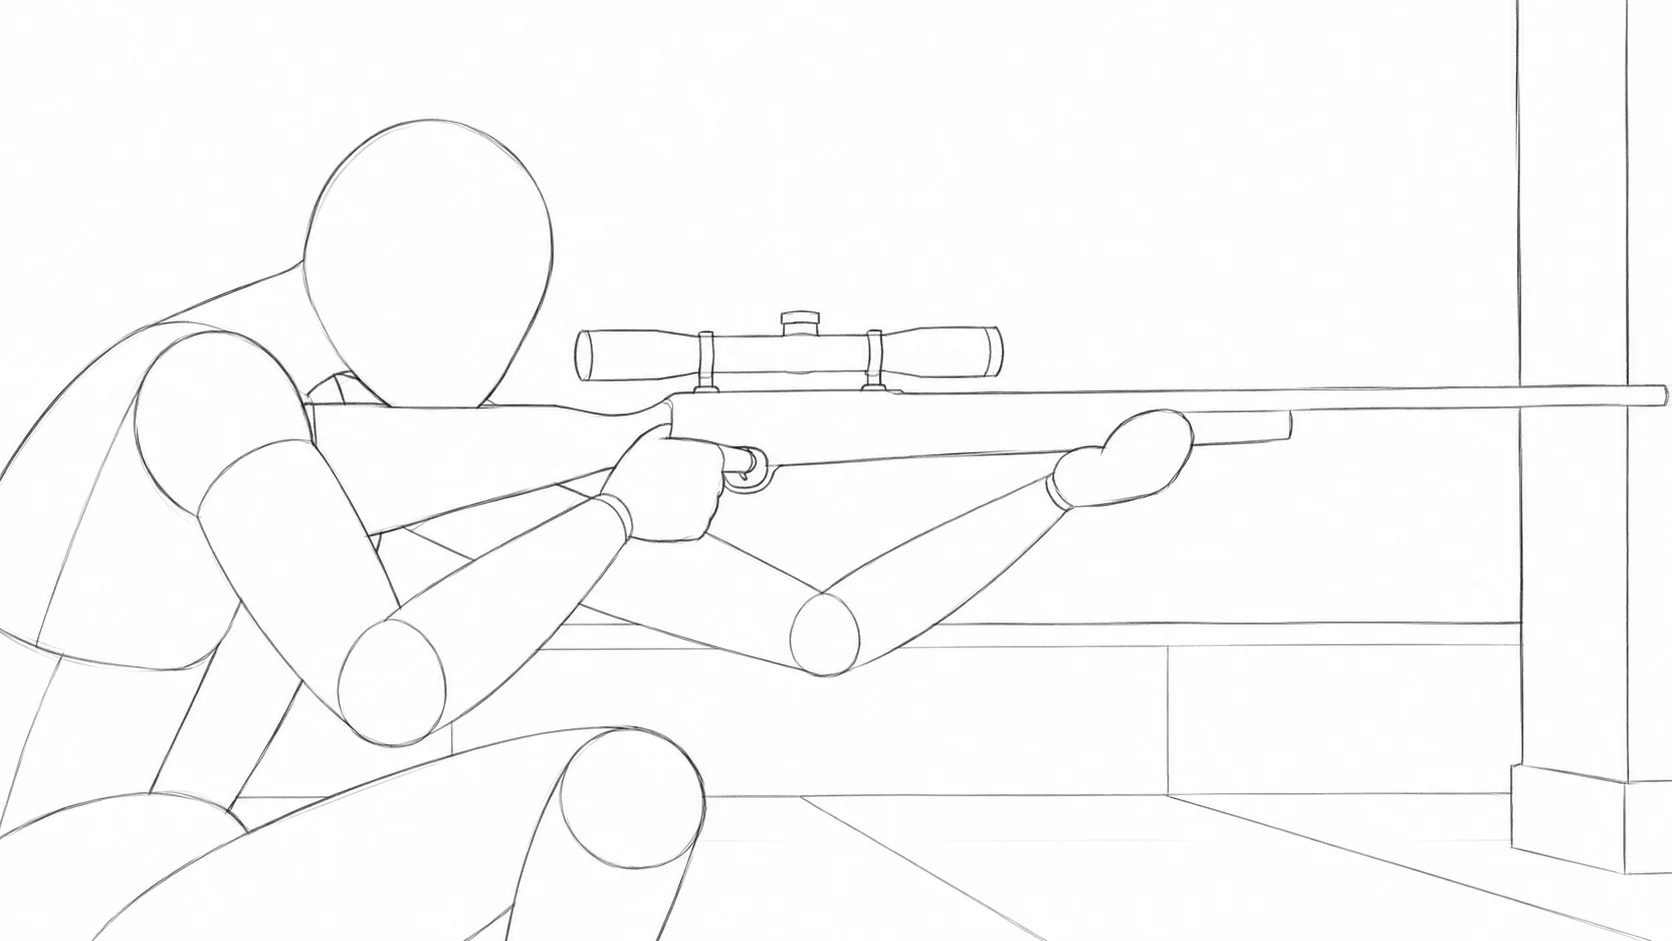

Profile, ornaments, and robe follow the same design.
Still the
same person.
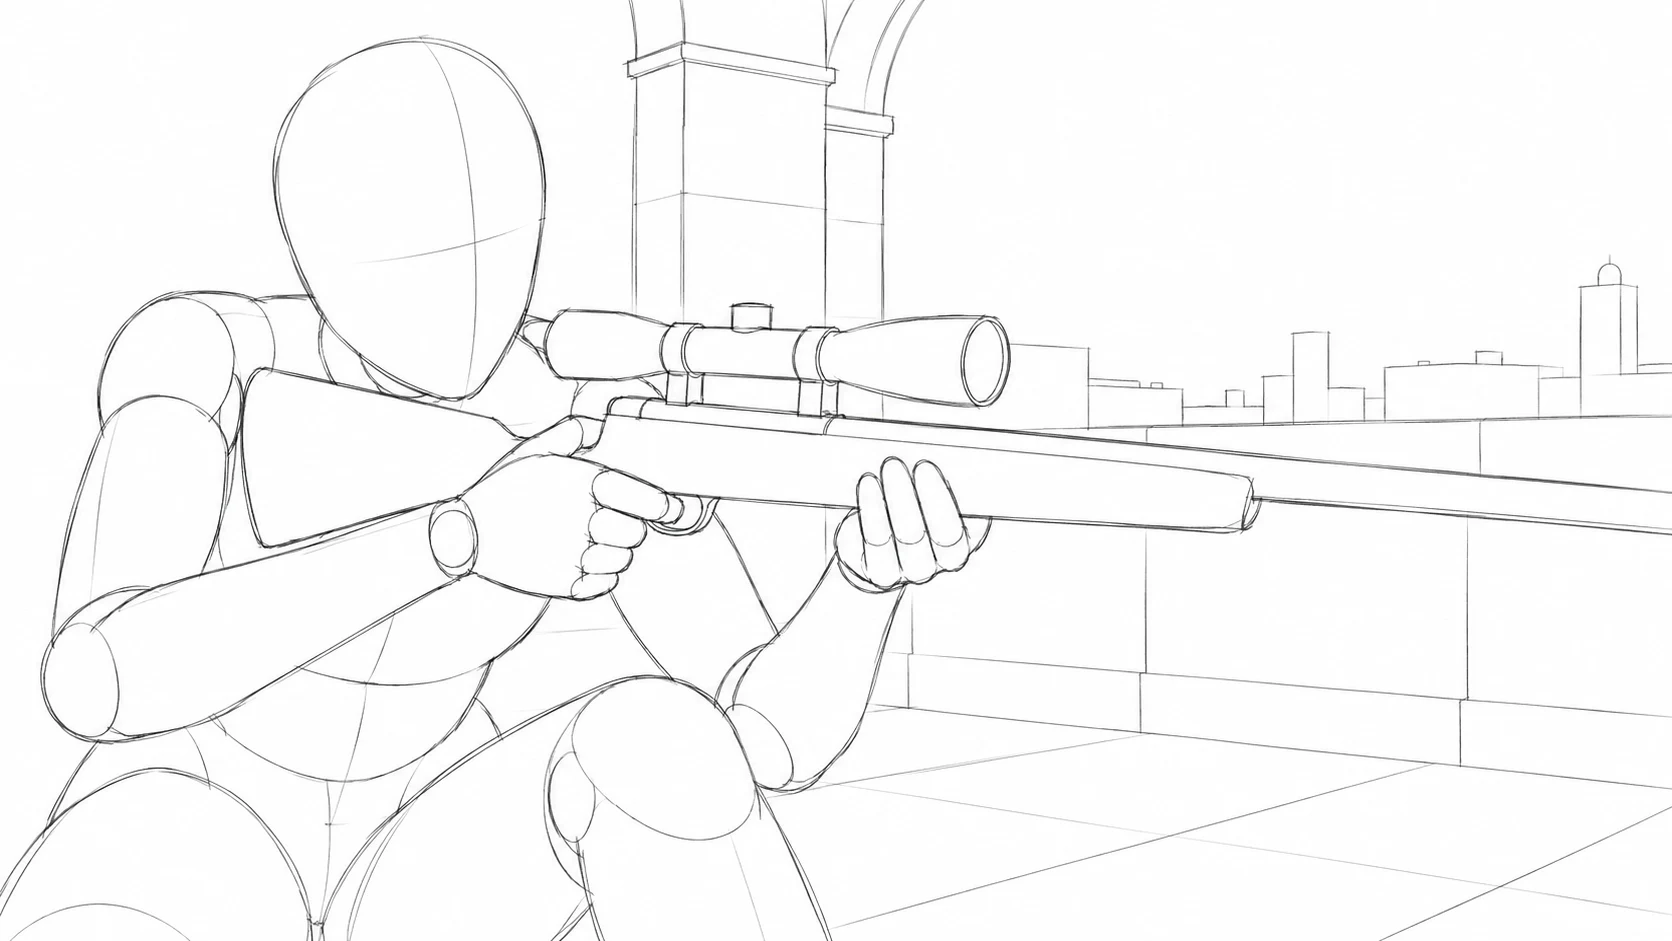

The angle changes. Face, hair, and clothing share the same references.
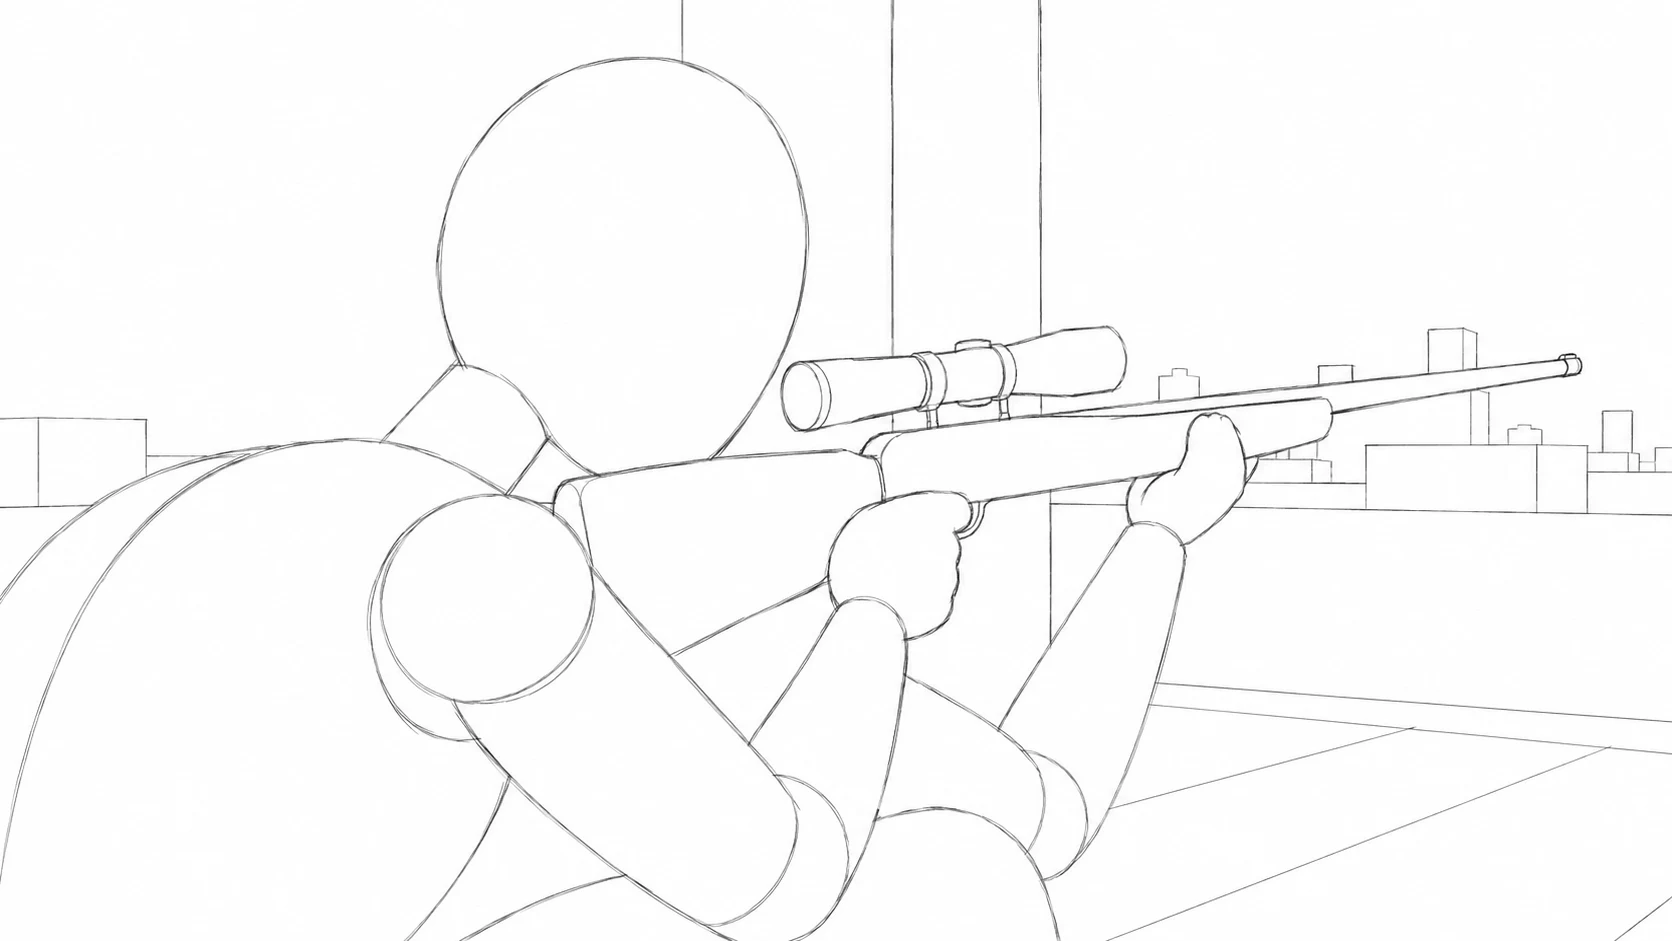
Heist sniper sequence · Rough storyboards and Neo illustrations of corresponding film frames
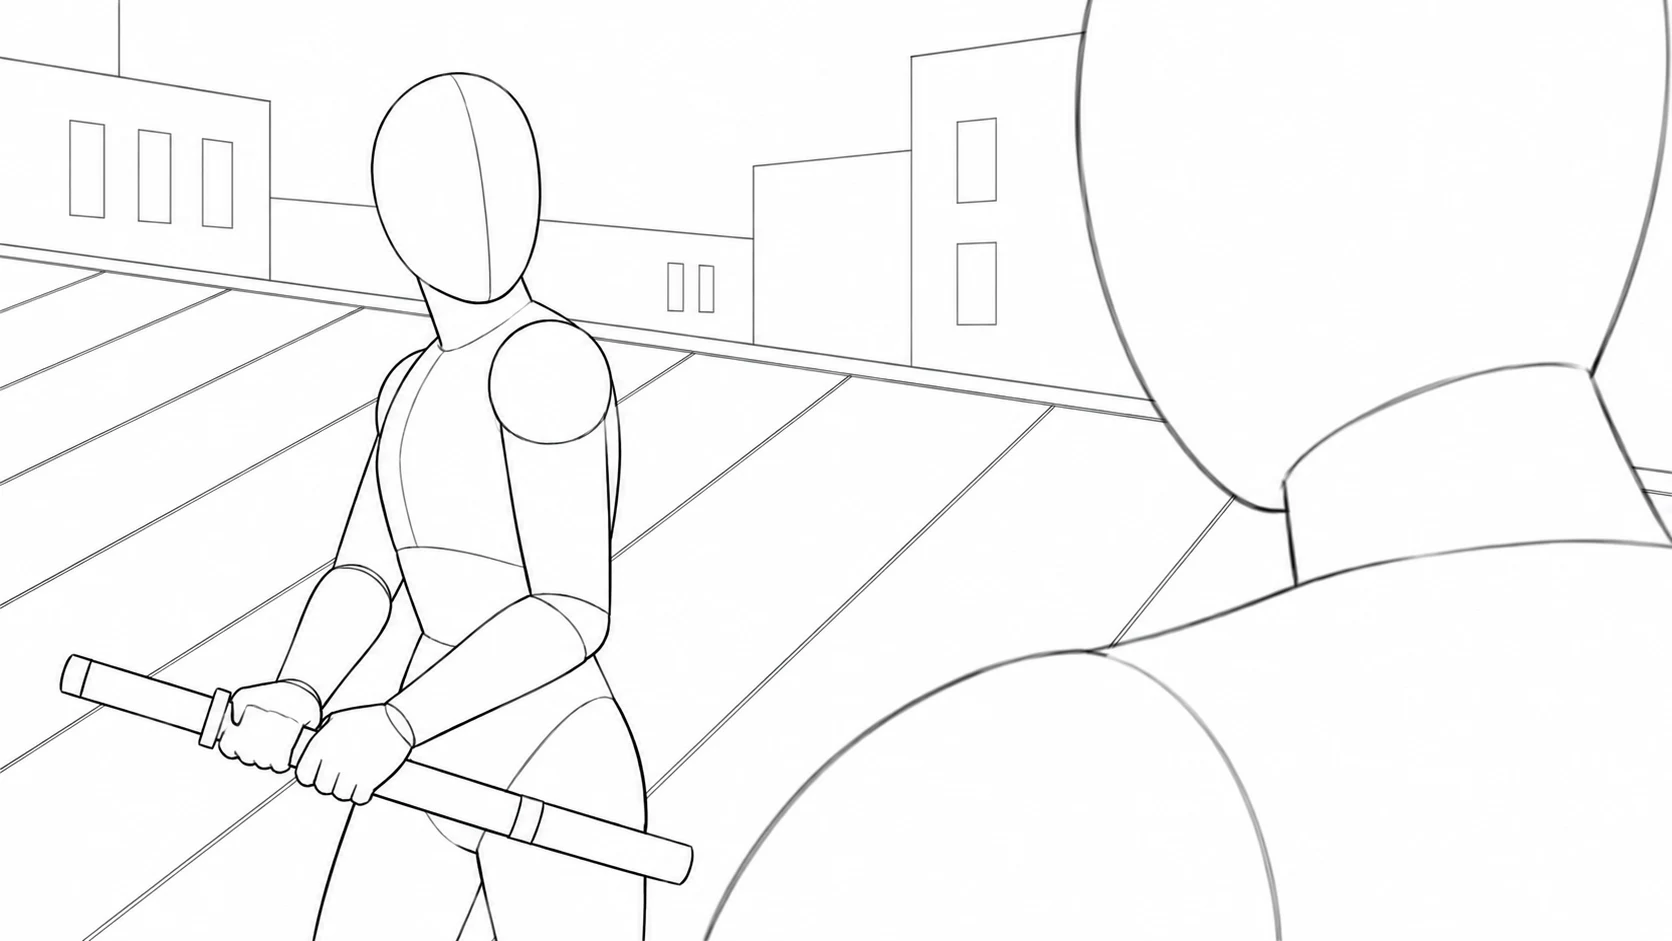
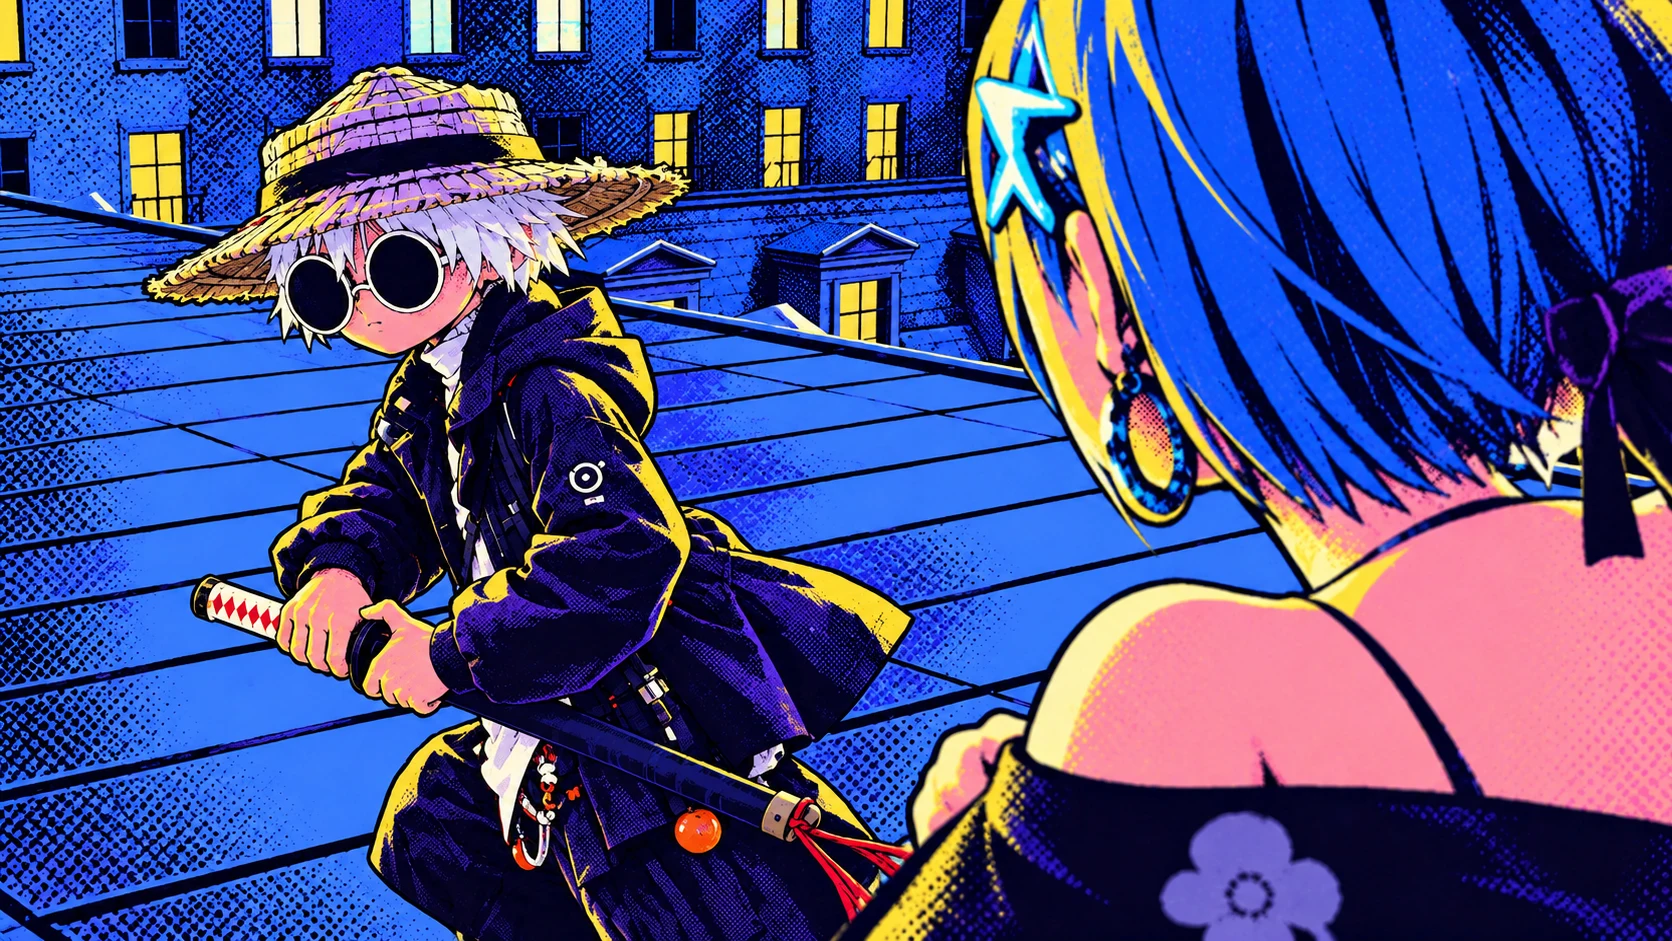
The storyboard establishes rooflines, buildings, and character positions. Scene references add architecture and night lighting. Compare sketch and image side by side to spot changes in spatial relationships, then carry the same references into the next shot.
Planting a foot, drawing a blade, swinging it: each action has a cause and a result. Describe contact points and motion beats, then check the video for sliding feet, switched hands, or missing movements.
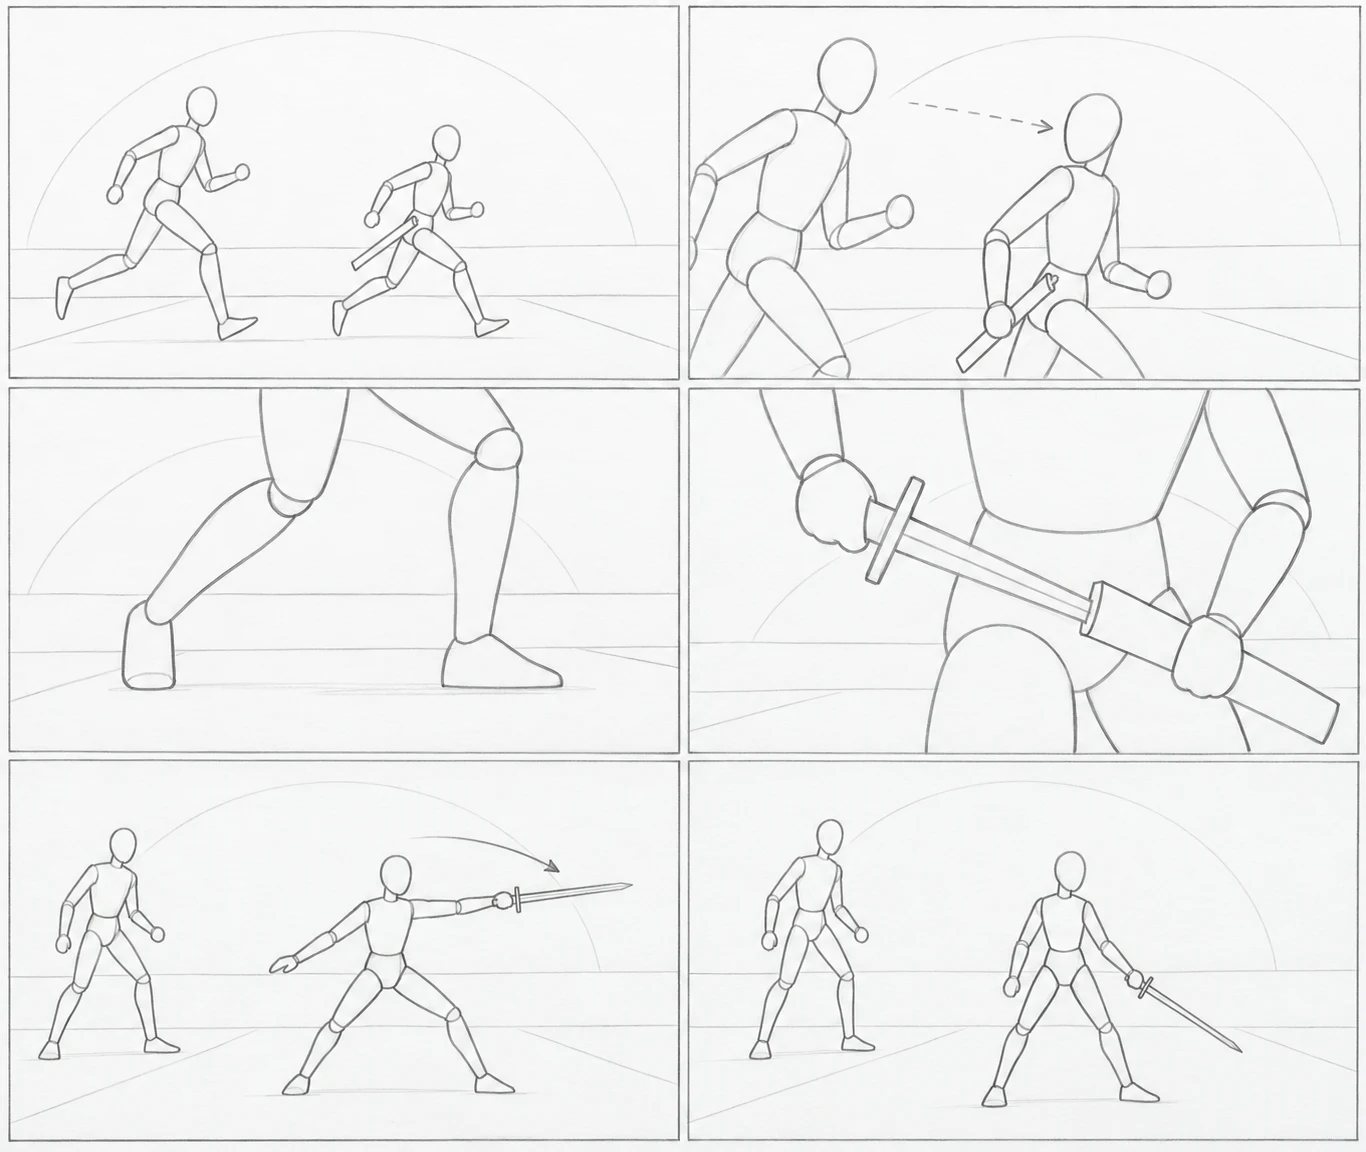
You and your collaborators may picture different images from the same script. Break it into shots in koma, then discuss the frames: where should viewers look, and when should you cut? Agree before moving to video.
A question you can point to in a frame.
In Heist's landing scene, a close-up makes the contact point clear, while a two-shot holds the teammate's reaction. Lay out both ideas in four frames to decide which beat to keep.
For dialogue, put the speaker and lines beside the corresponding shot, then decide when to cut to the listener's reaction.
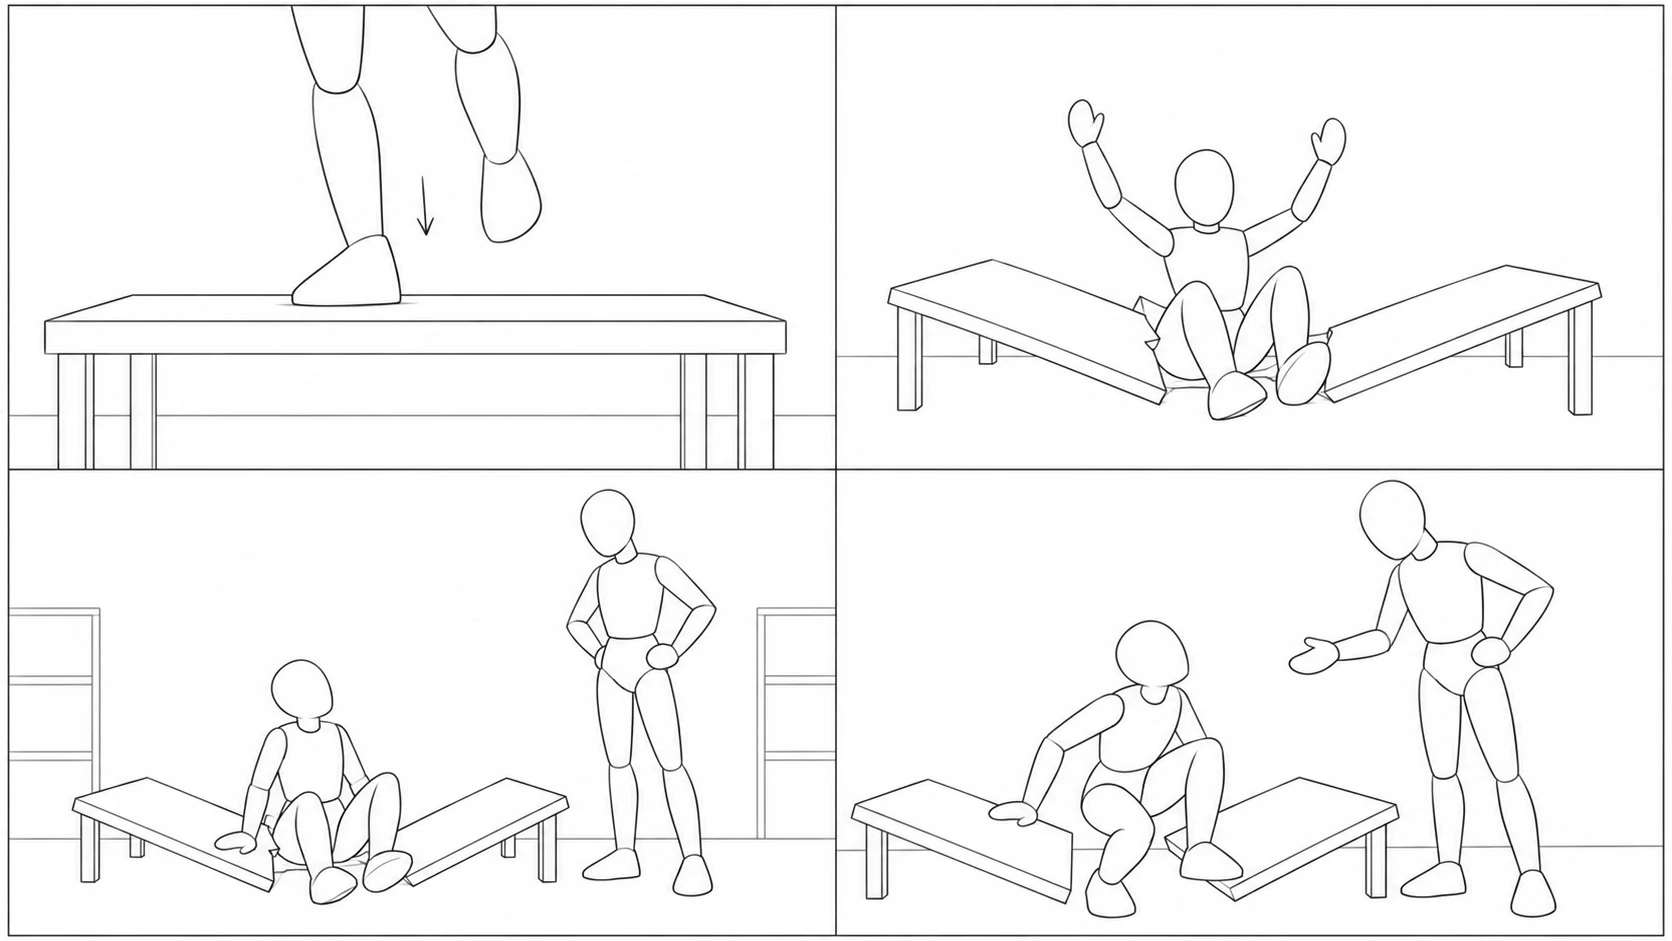
Show the foot and tabletop clearly, giving the break that follows a cause.
Pull back to include both the unsupported body and the broken table.
Put both people in the frame and discuss whether the pause earns its place.
Use standing up and reaching out to carry their positions into the next beat.
Add the chosen storyboard image as a reference for the shot, describe the action and camera movement, then generate video. koma keeps takes together so you can compare them with your intended shot and choose one.
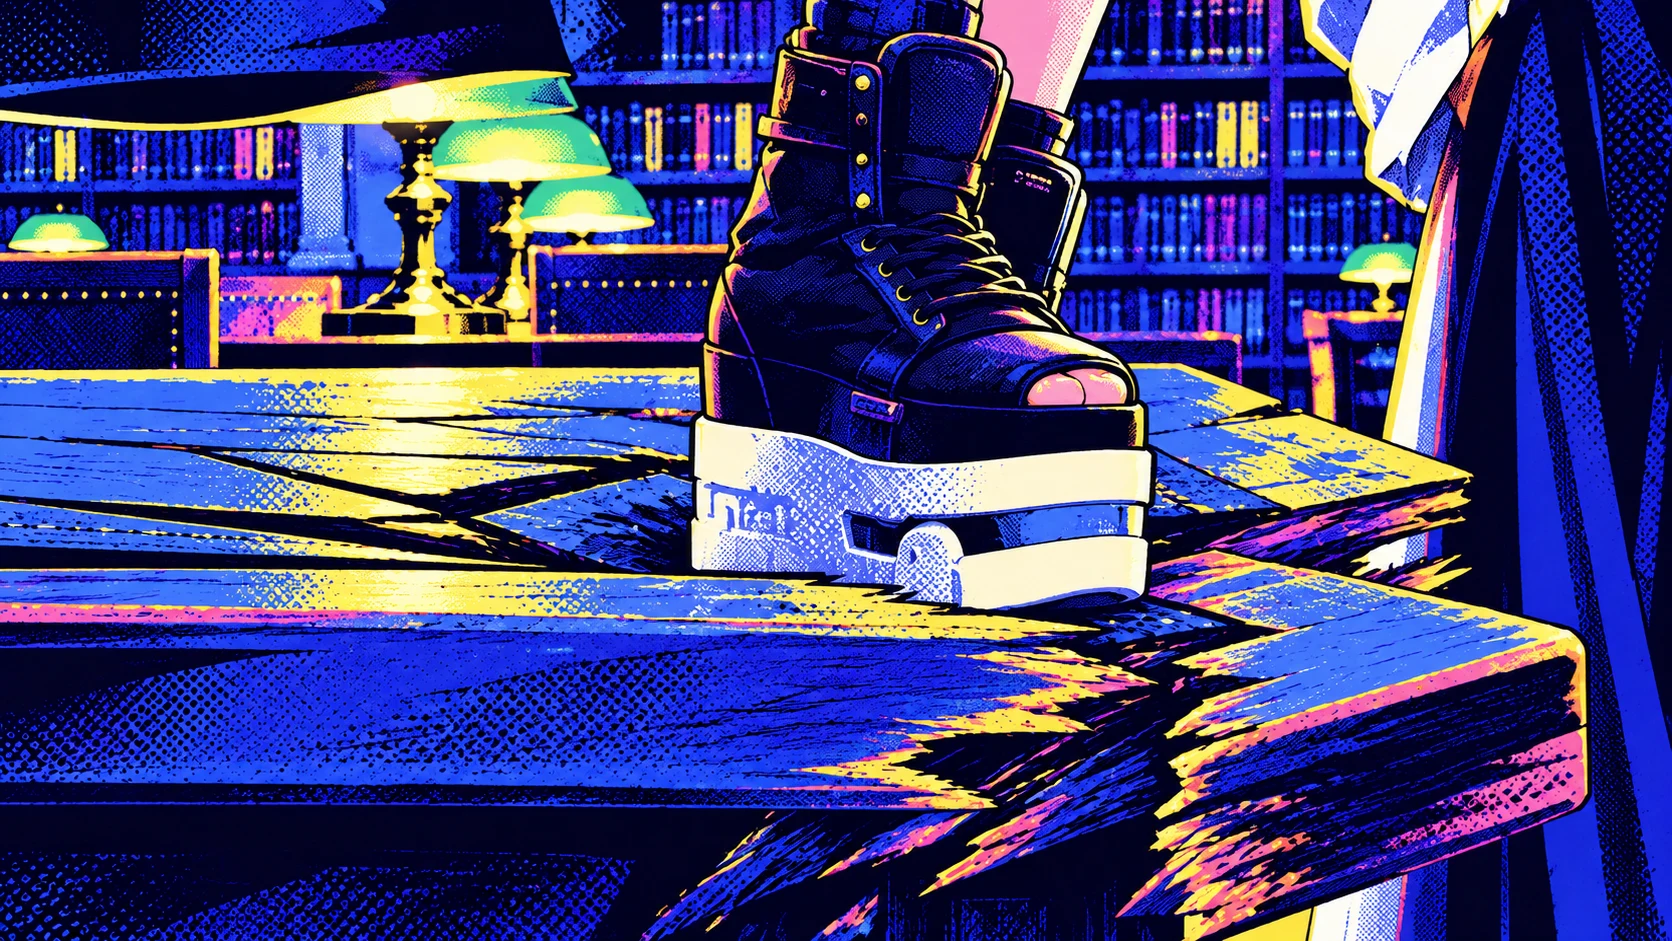
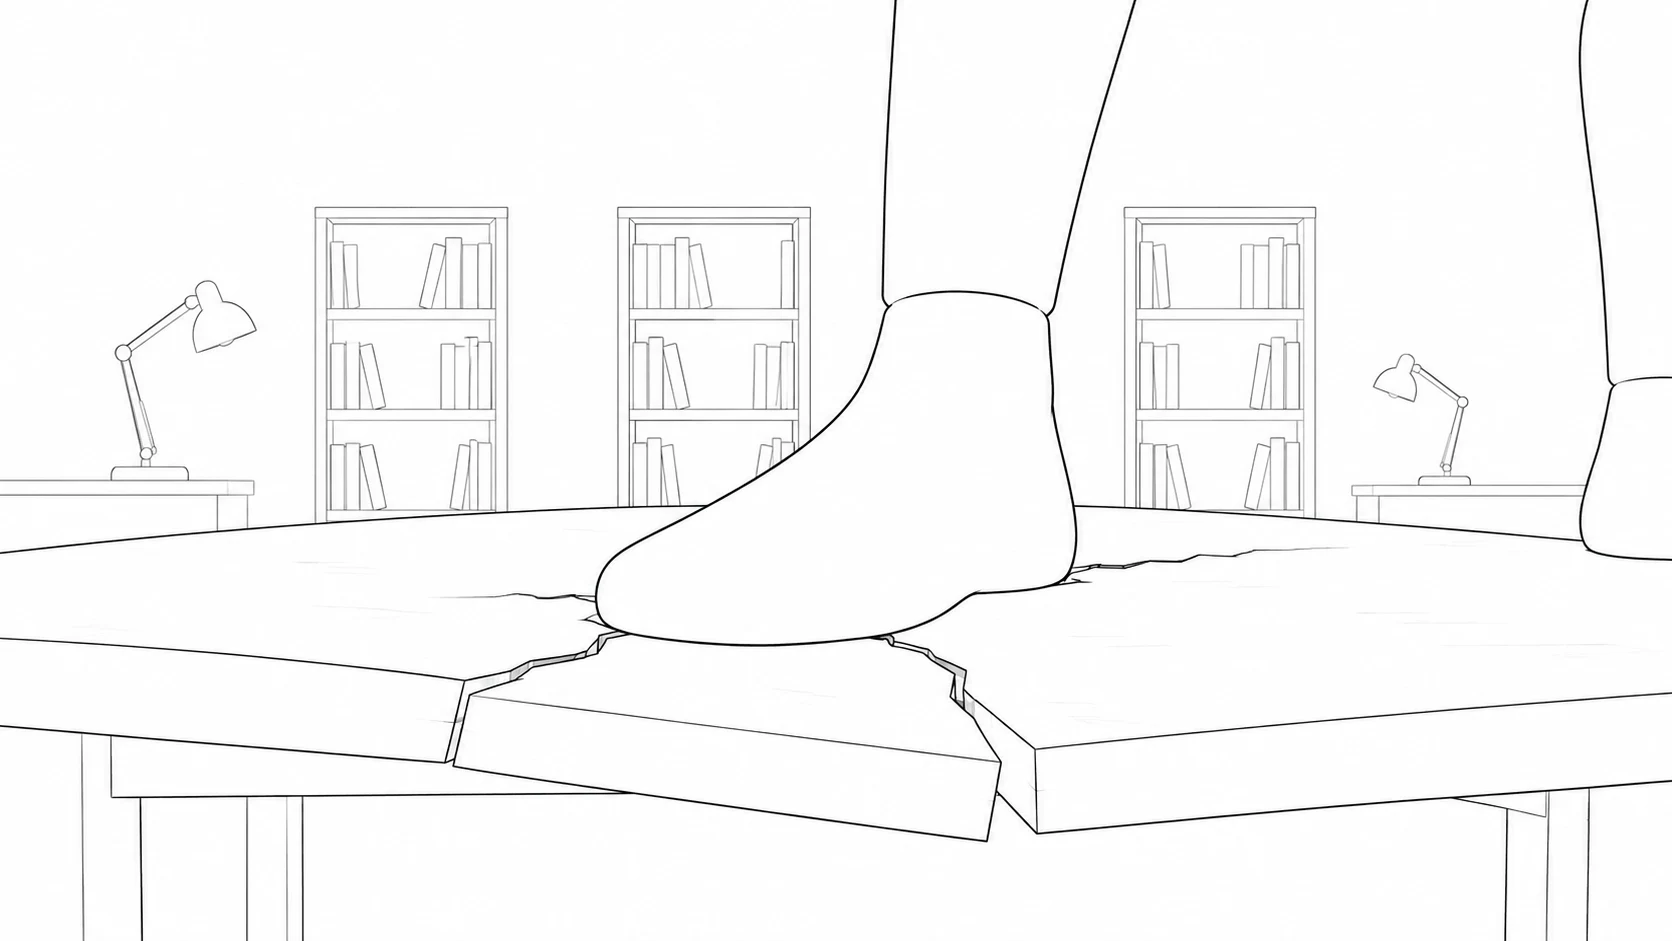
An action description for this Heist shot:
“The foot contacts the tabletop, the knee bends under the weight, then the table cracks beneath it. Keep the camera close to the surface and hold the transition from pressure to breakage.”
Add the agreed storyboard image to the shot, giving video generation a concrete visual basis.
Explain who moves and how the camera follows. Add character and scene references for the details the film needs.
This shot needs the foot to make contact before the table breaks. Compare action order, contact, and framing before choosing a take.
Composition or blocking is off? Adjust that shot's storyboard.
The character or scene drifts? Check that shot's references.
Action or camera movement is wrong? Revise the description and generate another take.
If the table breaks too early, spell out “foot contacts → knee presses down → tabletop breaks” and try that shot again. Keep the other chosen shots and takes. Check usage before each generation.
Upload hand-drawn frames or images from another tool as assets, add them as image references to the matching shot, and describe the motion. Keep your shot plan and continue making video.
These storyboard sketches were designed after the Heist scenes. The color images are illustrations of film frames for comparing shot choices; these were not the original storyboards used to generate the film.
An AI storyboard generator turns a story, script, or text prompt into frames for planning camera positions, actions, and shot sequences. You don't need drawing skills. Describe a specific shot, or ask AI for a first version to revise.
There is no fixed number. Start with what viewers need to know: where people are, how the key action happens, and whose reaction changes the story. Consider a cut when the information or focus changes; don't add shots just to fill a grid.
You can paste a prepared story, script, or storyboard prompt, or describe a short sequence to explore. If you're comparing camera positions or moments in one action, explain how the frames relate to each other.
Establish people, space, and actions in the storyboard. Reuse character and scene references, and describe motion beats and contact points. After generating, check faces, clothing, scenery, lighting, and movement. Revise the affected shot's storyboard, references, or description when something drifts. Storyboards provide a common basis; they cannot guarantee error-free AI output.
Identify the problem first. Adjust the storyboard for composition or blocking; revise the description and generate another take for action or camera movement. Keep different takes for one shot and choose which to use. Editing the script does not automatically update the whole storyboard.
Storyboards show composition and relationships between frames. Shot lists describe framing, action, and camera movement in text. Animatics arrange still frames in time, often with sound. In koma, plan with storyboards and then generate video shot by shot; a still storyboard has no timing or sound of its own.
This entry accepts pasted text. Convert a PDF or FDX script to text before pasting it. Direct imports of these formats and PDF or PowerPoint storyboard layouts are not available here. You can add existing images as references later in the creative workspace.
Sign in to start generating. Storyboard images and videos are separate outputs. Entitlements, models, and the current content affect usage. Check usage before generating; a plan does not mean unlimited video or retries. See plans and pricing.